Regular maintenance of your computer is not just a good practice; it’s essential for longevity and optimal performance. Over time, dust and debris accumulate inside and outside your machine, leading to overheating and potential hardware failure. This guide will provide you with simple, step-by-step instructions to clean the dust out of your computer safely and effectively. With the right tools and a careful approach, you can take control of your computer’s health and ensure it runs smoothly, freeing you from the frustration of unexpected slowdowns and crashes.
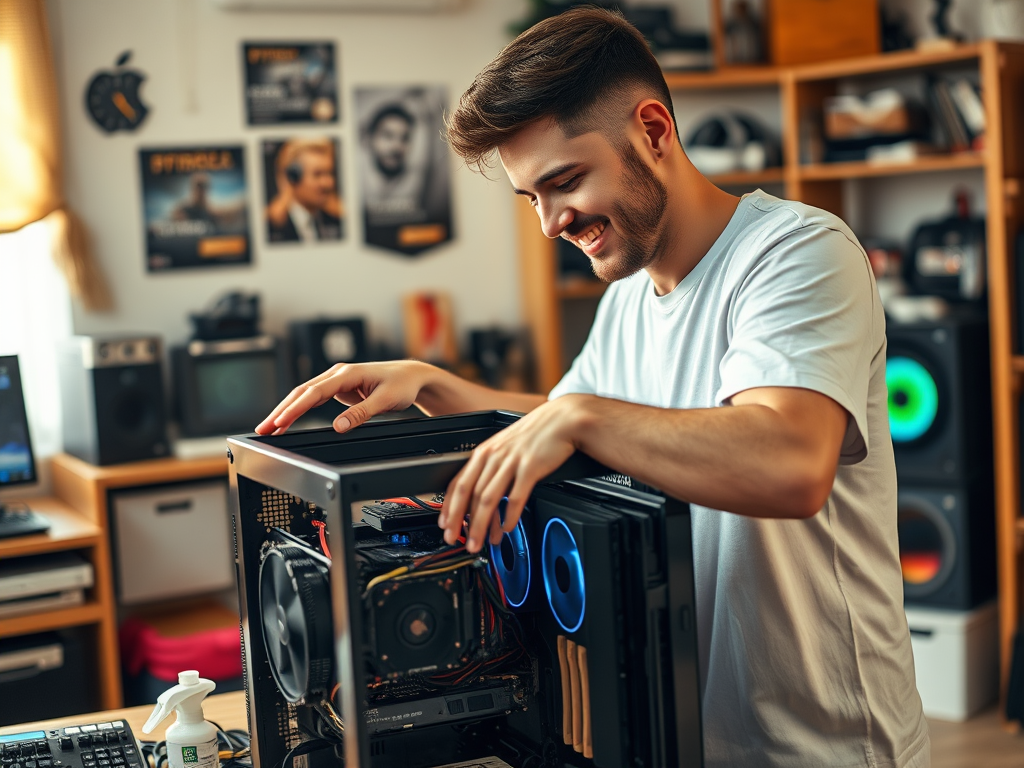
Your computer’s internal components require care, and neglecting them can lead to decreased performance, unexpected shutdowns, and a shortened lifespan. The good news is that cleaning your computer can be a surprisingly straightforward task for most users. By taking some time to familiarize yourself with your machine and following best practices, you’ll transform this daunting chore into a manageable weekend project. Imagine the satisfaction of opening your computer and seeing clean components, knowing you’ve contributed to its longevity. Not only will it function better, but your efforts can also serve as an educational experience to understand your computer’s inner workings.
Why Cleaning Your Computer is Important
Cleaning your computer regularly is crucial. Here are some compelling reasons to adopt this practice:
- Prevention of Overheating: Dust blocks air vents and obstructs fans, leading to elevated temperatures and potential component failures.
- Improved Performance: A clean computer operates efficiently, which translates to faster processes during tasks like gaming or video editing.
- Longer Lifespan: Regular maintenance can prolong the life of your hardware, saving you money in the long run.
Tools You Will Need
Gathering the right tools is essential before starting your cleaning process. Here’s a handy list of what you’ll need:
- Compressed air canister
- Microfiber cloths
- Small screwdriver (if necessary)
- Anti-static wrist strap (optional but recommended)
Preparing Your Computer for Cleaning
Before diving into the cleaning process, it’s vital to prepare your workspace and ensure your safety. Start by shutting your computer down completely and unplugging it from the power source. This step cannot be overlooked, as it protects you from electrical shocks and accidental damage. Next, find a well-lit and clutter-free area where you can work comfortably. A clear workspace makes it easier to manage your tools and components without unnecessary distractions. Additionally, consider wearing an anti-static wrist strap if you have one, as it helps prevent static electricity from damaging sensitive components during the cleaning process.
Step-by-Step Cleaning Process
Opening Your Computer Case
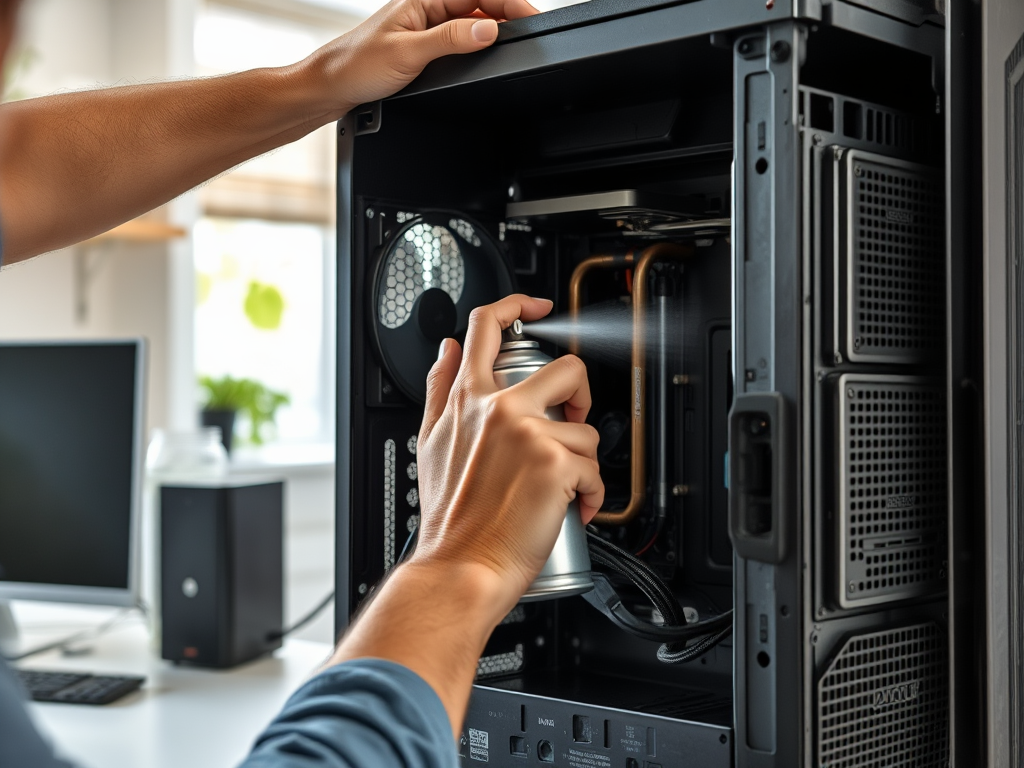
Now let’s proceed with the actual cleaning process, starting by opening your computer case:
Refer to your manufacturer’s instructions to locate any screws or latches that hold the side panel. Typically, you’ll need a screwdriver for this step. Once open, take care to ground yourself to prevent static buildup. Keeping your hands clear of the motherboard and other components is essential until you’re ready to clean. Familiarizing yourself with the internal layout will make cleaning much more manageable.
| Component | Cleaning Method | Frequency |
|---|---|---|
| Fans | Use compressed air, then wipe with a microfiber cloth | Every 3 months |
| Motherboard | Blow dust off with compressed air | Every 6 months |
| Power Supply | Blow dust off, avoid direct contact | Every 6-12 months |
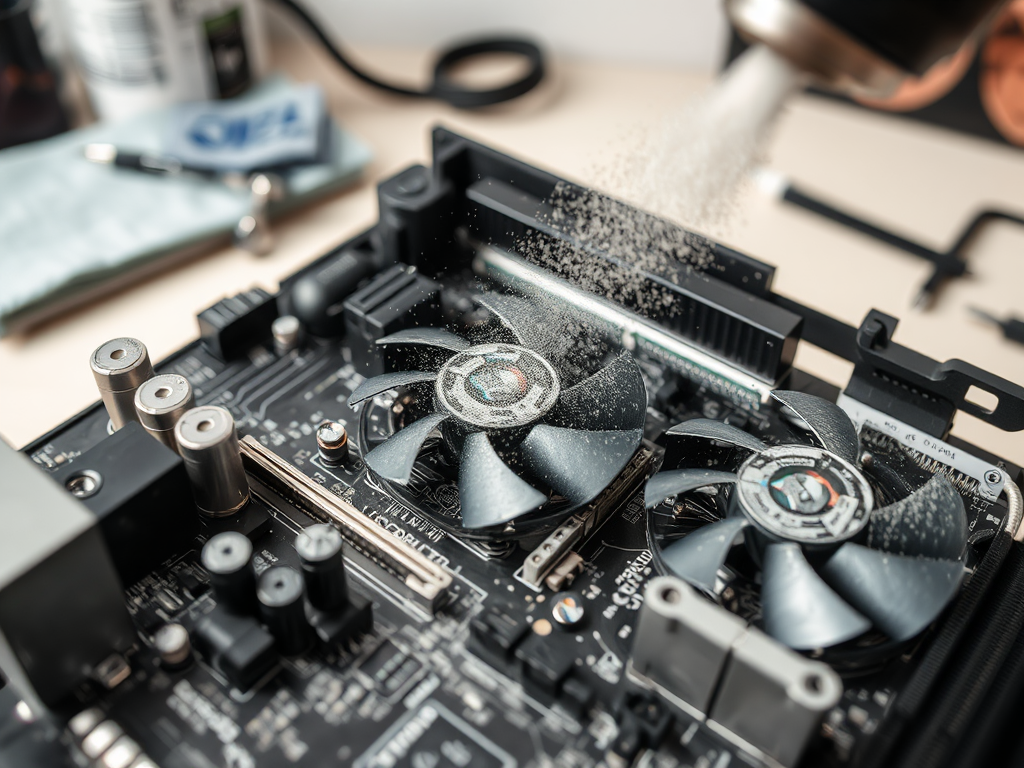
Removing Dust from Components
With the case open, it’s time to tackle the dust inside:
- Motherboard and Fans: Position the compressed air canister upright, and gently blow air to dislodge dust. Hold the fans in place to avoid damaging them.
- Hard Drive and Power Supply: Carefully wipe down these components with a microfiber cloth or utilize compressed air for safe dust removal.
Cleaning External Parts
Don’t forget to clean the exterior surfaces of your computer, such as the monitor, keyboard, and mouse. Using a disinfectant wipe can be beneficial here. Always check the specific instructions for each surface to avoid using harmful cleaning agents. Regularly cleaning these external components not only enhances their appearance but also contributes to your overall hygiene, especially if you share your computer with others.
Final Steps After Cleaning
Closing the Case
After you’ve completed the cleaning process, it’s important to reassemble your computer properly. Start by carefully replacing the side panel. Make sure to secure all screws tightly to keep the components safe from dust re-entry. Ensuring that everything is in place will allow your computer to function seamlessly and prevent any unexpected issues.
Powering On and Monitoring Performance
Once your computer is closed up and secure, plug it back in and power it on. Observe the performance closely, paying attention to temperature, noise from fans, and overall speed. If you notice any anomalies, it may be worth investigating further to ensure everything is functioning as intended. Regular monitoring after cleaning can help you learn about your machine’s behavior and make informed decisions about future maintenance.
Conclusion
Maintaining a dust-free environment for your computer is integral to its performance and longevity. By following this DIY guide, you can easily clean your machine and ensure it runs optimally for years to come. Make cleaning a regular habit, ideally every few months, and you’ll enjoy a faster, cooler, and more efficient computer. Embrace this responsibility, and take pride in the health of your device, knowing you play a vital role in its upkeep.
Frequently Asked Questions
- How often should I clean my computer?
It’s recommended to clean your computer every 3 to 6 months, depending on the dust levels in your environment. - Can I use a regular household vacuum to clean my computer?
No, using a vacuum can create static electricity which may damage components. Instead, opt for a can of compressed air. - What if I am not comfortable opening my computer?
If you’re unsure about cleaning your computer yourself, consider taking it to a professional. - Is it safe to clean my computer while it’s still plugged in?
No, always ensure your computer is turned off and unplugged before cleaning to avoid electrical shocks. - Will cleaning my computer improve its performance?
Yes, removing dust can lower temperatures and enhance airflow, leading to improved performance.